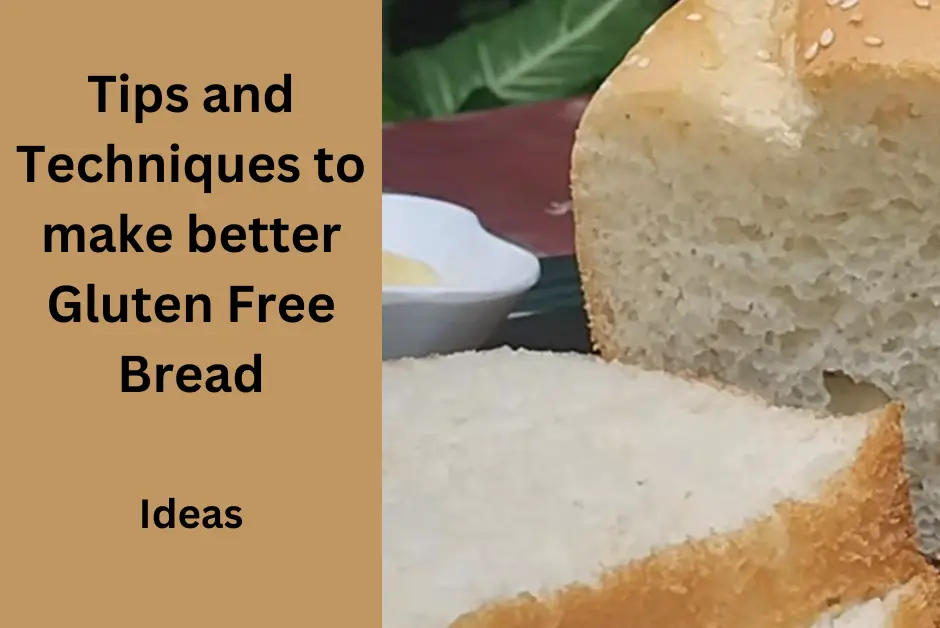
Tips and Techniques to make better Gluten Free Bread
Making gluten-free bread can seem intimidating, but with a bit of practice, it’s possible to make delicious and fluffy loaves. In my experience, It may take some trial and error, but the reward of pulling out a perfect loaf from the oven is worth every minute spent experimenting.
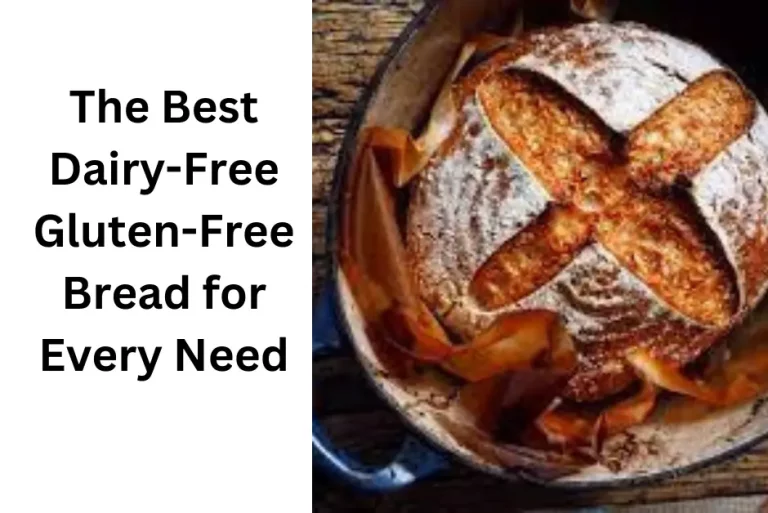
Before we get into the tips and techniques let’s take a moment to understand what makes for a great dairy-free, gluten-free bread.
The main components of any good GF bread are:
- Ingredients – Make sure the ingredients list is short and contains only wholesome ingredients like whole grain flour and seeds. Also check for added gums or starches, which can make the bread more difficult to digest.
- Texture – GF bread tends to be more dense than traditional wheat-based breads, so look for a product with a light yet chewy texture.
- Taste – Many gluten-free flours have a slightly bitter flavor, so the addition of natural sweeteners like honey or agave can help to balance out the taste.
Now that you understand what makes for great gluten-free bread. Let me take you to my story of making gluten-free bread for the very first time.
My Journey of making gluten-free Bread the Very First Time
I remember the very first time I attempted to make gluten-free bread. It was a cold winter afternoon, the kind that makes you want to stay in and bake. Having recently discovered my intolerance to gluten, I was missing the comfort of freshly baked bread. With a mix of excitement and apprehension, I decided to give baking gluten-free bread a try.
My first attempt used a combination of almond flour and coconut flour, following a recipe that swore by this combination for the perfect balance of flavor and texture. I remember watching the dough rise in the oven, enveloping my kitchen with the exhilarating aroma of baking bread.
Unfortunately, my excitement was short-lived. The final result was a dense, crumbly loaf that tasted overwhelmingly of almonds, with an aftertaste of disappointment. While it was far from the perfect loaf of bread I had imagined, it wasn’t a total failure. It was, after all, edible.
This initial failure didn’t dampen my spirits but instead motivated me to experiment more. It took several attempts, and a few more baking disasters before I discovered the right combination of flour and ingredients that worked for me – a blend of brown rice flour, tapioca flour, and potato starch.
Read my guide on Finding Gluten-Free Alternatives in Restaurants and Cafes & How To Create an Environment For Cross-contamination Prevention for gluten-free bread
The journey was a mix of failures and successes, but I remember the immense joy when I pulled out a perfect loaf from the oven. It had the right texture, not too dense, and the taste was delightful. It was a rewarding experience to finally make a gluten-free bread that didn’t just taste good but also felt good to eat.
I’ve come a long way since that first attempt, and each loaf I bake is a testament to the trials, errors, and lessons I’ve learned. So, to anyone looking to start their gluten-free baking journey, remember that every failure is just a step closer to making your perfect loaf of bread.
let’s take a look at some of my favorite products. Our top picks for the best gluten-free bread include:
- Udi’s Gluten-Free White Sandwich Bread – This light and fluffy gluten-free bread is made with tapioca flour and is free of dairy, soy, eggs, nuts, and corn.
- Schär Gluten-Free Deli Style Wheat Bread – This classic deli-style bread is made with rice flour and oat fiber for a soft yet chewy texture.
- Canyon Bakehouse Mountain White Bread – This delicious white bread is made with a blend of rice and tapioca flour and is free from dairy, soy, eggs, tree nuts, peanuts, and sesame.
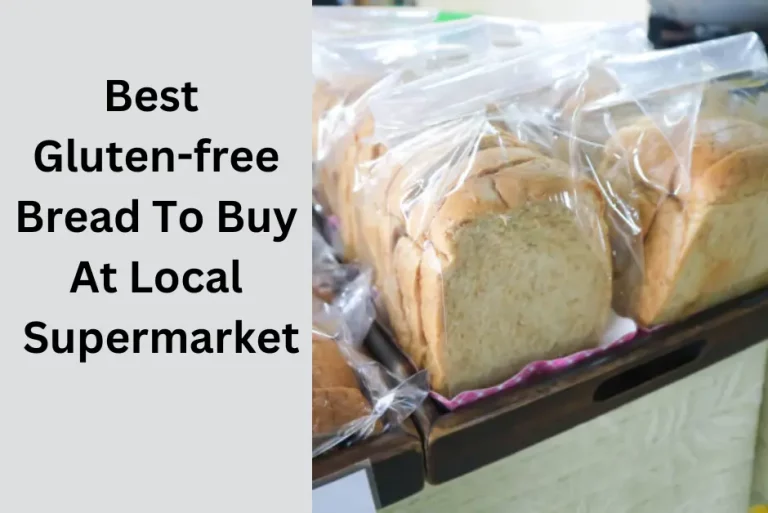
In addition to these three favorites, there are plenty of other great options out there for gluten-free bread. I recommend reading my guide on Best Gluten-free Bread To Buy At Local Supermarket
If you’re looking to take your bakery skills to the next level, consider trying out a few creative recipes like gluten-free Mandel bread or Gluten-free pear bread recipe. These recipes can help you learn new techniques and add some variety to your repertoire. And who knows? You might even find yourself creating a signature gluten-free bread recipe of your very own!
Share tips for troubleshooting common issues in gluten-free bread baking.
When venturing into the world of gluten-free baking, there are bound to be a few hiccups along the way.
Here are some common issues that might crop up and some troubleshooting tips to help you overcome them:
- Dry and Crumbly Bread: This is a common issue with gluten-free bread. If your loaf is turning out dry, it could be due to too much flour or not enough liquid. Try reducing the amount of flour or adding more liquid to fix this issue. Remember, gluten-free dough is typically more of a batter than traditional bread dough.
- Dense Bread: Gluten-free breads tend to be denser than their gluten-filled counterparts. However, if your bread is excessively dense, it could be due to not enough leavening agents (such as yeast or baking powder). Make sure you’re using enough to give your bread a good rise.
- Bread Doesn’t Rise: If your bread isn’t rising as it should, it could be due to old yeast or not enough time for proofing. Always check the expiration date of your yeast, and if it’s still fresh, try letting your dough rise for a longer period.
- Gummy Texture: A gummy texture can result from too much xanthan or guar gum. These are used to replace the elasticity normally provided by gluten, but too much can create a gummy texture. Try reducing the amount you’re using if you’re experiencing this issue.
Remember, it’s all about patience and practice. Don’t get disheartened if your first few attempts don’t turn out as expected. With every baking adventure, you’re learning and improving. So keep experimenting, and before you know it, you’ll be a master at baking gluten-free bread. Happy baking!
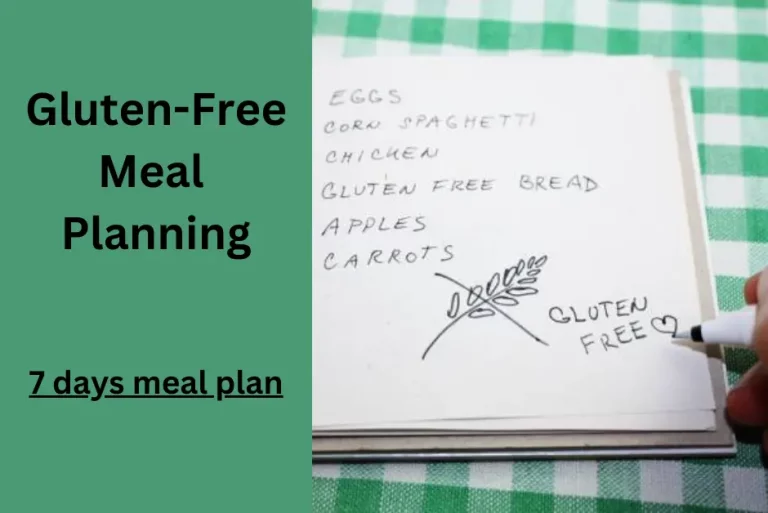
If you are serious about your health and want to follow a gluten-free diet then read my Simple Gluten-Free Meal Plan (7 days)
Tips for achieving a light and fluffy texture in gluten-free bread.
These are my personal and favorite tips and I have achieved great results after applying them. I always say, achieving a light and fluffy texture in gluten-free bread can sometimes seem like an elusive goal, but it’s definitely within reach.
Let’s find out!
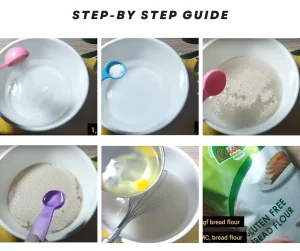
- Choose Your Flours Wisely: Different gluten-free flours yield different results. A combination of whole grain and starchy gluten-free flour often works best. I usually use molino gluten-free flour for bread. For instance, a mix of brown rice flour (whole grain) and potato starch or tapioca flour (starchy) can lend your bread a lighter texture.
- Hydrate Your Dough: Proper hydration is key in gluten-free baking. Since gluten-free flours tend to absorb more liquid than traditional wheat flours, your dough may need more liquid to achieve the right consistency. This can help prevent the finished product from being too dense.
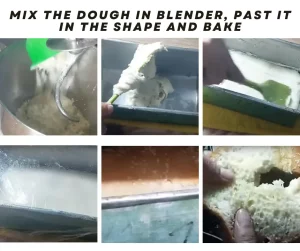
- Incorporate Air: Beat your dough well to incorporate air. This can make your bread lighter. Using a stand mixer can make this easier.
- Use a Binder: Ingredients like xanthan gum or psyllium husk can replicate the binding effect of gluten, helping to create a lighter, fluffier texture. Be careful not to overdo it, though, as too much can lend a gummy texture.
- Let the Dough Rise: One of the secrets to fluffy gluten-free bread is a good rise. It often takes longer for the gluten-free dough to rise, so be patient and let it take its time.
- Test Baking Times: Gluten-free bread may need less baking time than traditional bread. Overbaking can lead to bread that is dry or hard. Start checking for doneness a little earlier than the recipe suggests.
Keep these tips in mind, and you’ll be well on your way to baking a light and fluffy gluten-free loaf. Remember, every loaf is a step in your gluten-free baking journey, so don’t be discouraged if your first few attempts aren’t perfect.
Conclusion
Keep these tips in mind, and you’ll be well on your way to baking your own gluten-free bread. With the right combination of ingredients and techniques, you’ll be baking beautiful gluten-free loaves in no time! Bon appetit!
To make the most out of your gluten-free baking journey, you should always use fresh ingredients and measure accurately. It’s also important to keep your pantry stocked with a variety of flours, grains, and starches so that you can create a wide range of recipes. Finally, have fun experimenting with different flavors and techniques to make every loaf special! The possibilities are endless.
Enjoy the process—happy baking!

