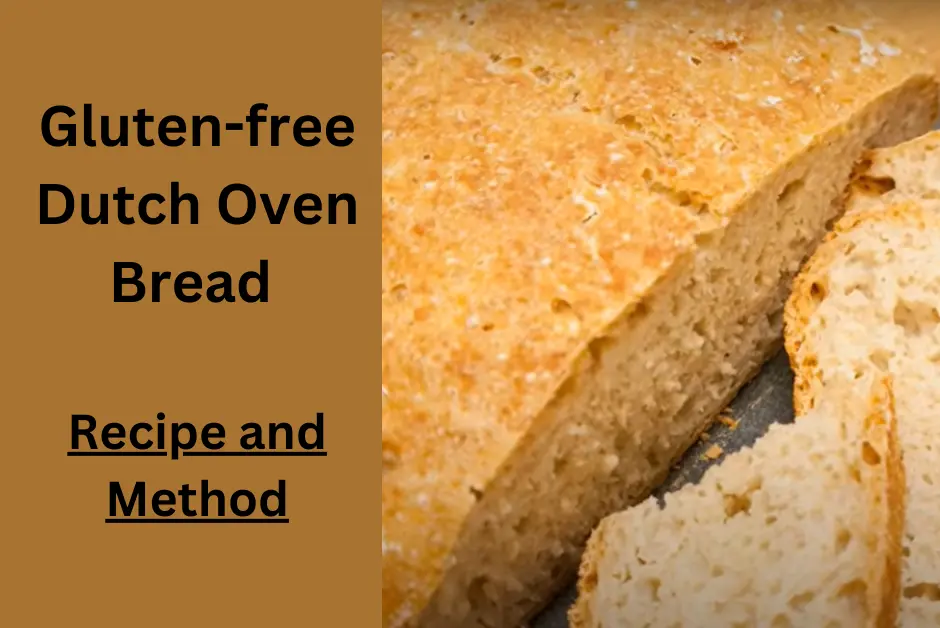
Gluten-free Dutch Oven Bread Recipe
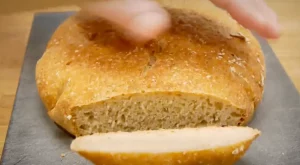
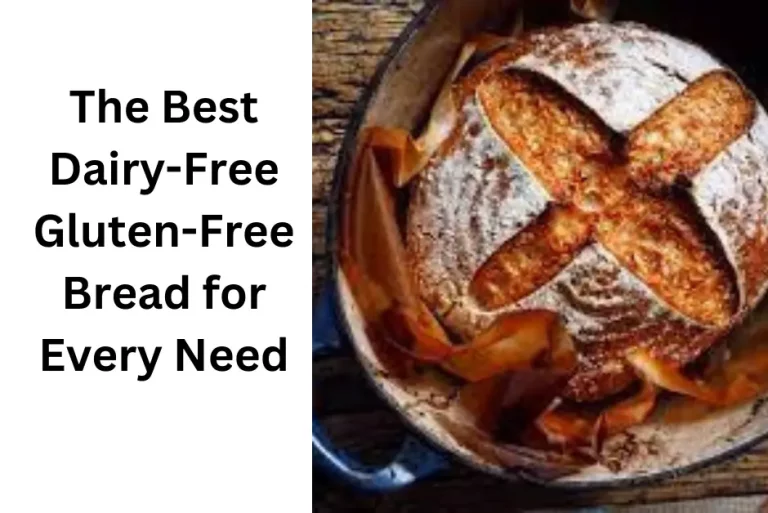
Do you what is more satisfying than watching your favorite movie? I think Making gluten-free Dutch oven bread is one of the most satisfying baking experiences I have ever had! It has a light and fluffy texture that is similar to traditional wheat-based artisan bread. The aroma of the freshly baked loaf was so inviting, and the taste was simply divine.
I am sharing my personal recipe for this bread which I bet, you will love it. 😊
This gluten-free Dutch oven bread recipe is a great way to create an artisan-style loaf with minimal effort. The dough needs to be cold and wet in order for it to rise, so I recommend chilling it overnight before baking. Additionally, adding oil or butter to the dough will help create a golden crust and rich flavor.
Using a Dutch oven helps trap moisture and steam to create a soft, fluffy texture. My family loves this recipe and I always get compliments when I serve it! It’s also an excellent source of healthy nutrients since it’s made with alternative flour like almond or coconut flour. Try experimenting with different ingredients to make your own unique gluten-free bread recipes that everyone will love!
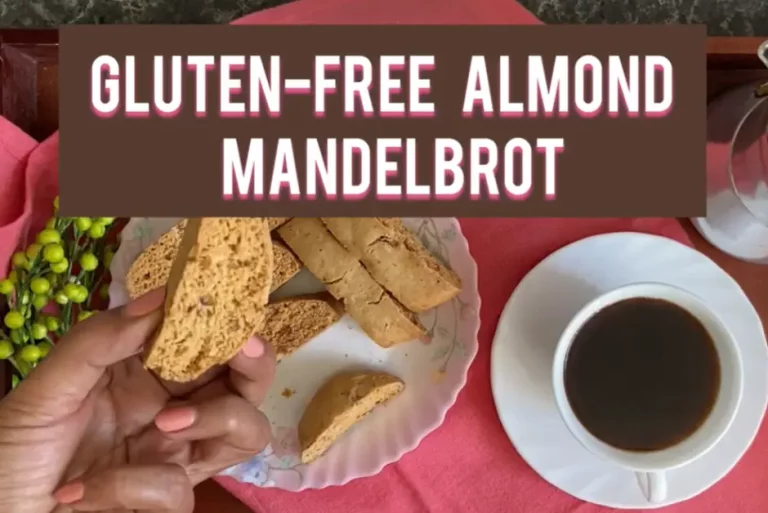
Read and try the gluten-free Mandel bread recipe
What is a Dutch oven?
A Dutch oven is a heavy cooking pot with a lid that can be used on top of the stove or in an oven. It is an incredibly versatile kitchen tool, and when paired with some simple ingredients, you can make delicious and satisfying gluten-free bread from your own home.
Benefits of using a Dutch oven for baking bread
Baking bread in a Dutch oven has many benefits.
- It helps keep the heat and moisture inside the pot so that your loaf of bread can rise properly.
- The lid traps steam, giving your bread a light and airy texture on the inside while ensuring that it develops a nice crunchy crust on the outside.
- It distributes the heat evenly throughout the pot
Why you’ll LOVE this gluten-free bread recipe
This recipe is my favorite and you know that when I say this. This is because it is easy to prepare and requires minimal ingredients (I’m sharing below). The dough can be made ahead of time and stored in the refrigerator for up to four days before baking. Additionally, this bread comes out light and fluffy every single time, making it perfect for sandwiches or toast.
Ingredients Needed
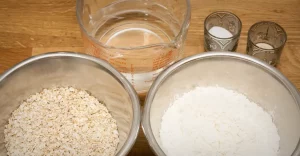
This recipe calls for a few basic ingredients, including
- Sorghum flour
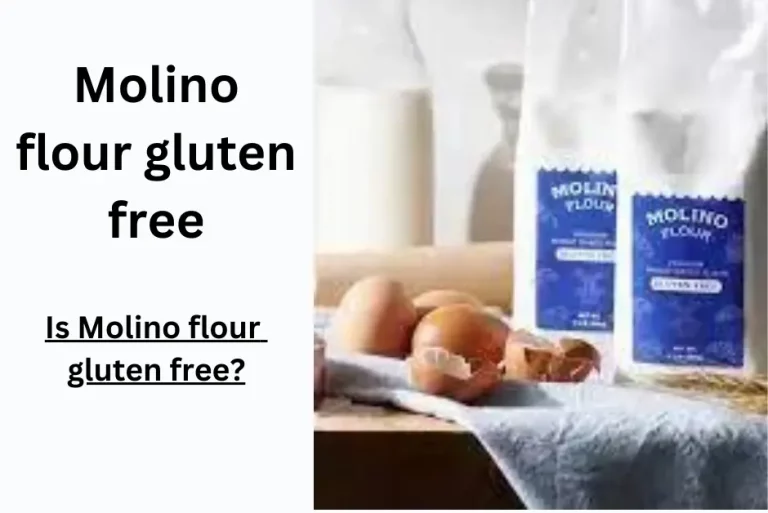
- Molino gluten-free flour
- tapioca starch
- and potato starch
- You will also need active dry yeast, salt, and sugar to activate the yeast.
It is important to use these exact ingredients in order to get the best results when making this gluten-free bread. As the name indicates, you’ll need a Dutch oven with a lid that can fit in your oven. The pot should be at least 6-quart capacity for the best results.
Step-by-Step Directions At A Glance
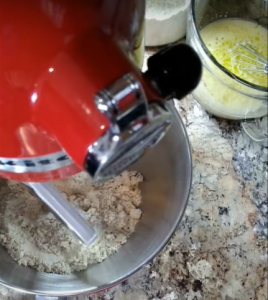
To begin, mix the flour, starches, and salt in a large bowl. In a separate bowl, dissolve the active dry yeast and sugar in warm water. Let this mixture sit for about 5 minutes until it becomes frothy. Add the yeast mixture to the flour mixture and stir until everything is well combined.
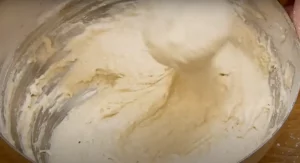
The dough should be slightly sticky but not wet. Cover the bowl with plastic wrap and let it sit in a warm place for 2 hours until it doubles in size. When the dough is ready, transfer it to a parchment-lined Dutch oven and cover it with the lid. Bake for 30 minutes at 375° F. Once finished, you can enjoy your delicious gluten-free Dutch oven bread!
Mixing the ingredients and kneading the dough
Once the ingredients have been mixed together, it’s time to knead the dough. Kneading helps to develop the gluten in the dough and makes it easier to shape.
To knead, use a lightly floured surface or silicone mat. Lightly flour your hands as well and begin to press down and fold the dough over itself repeatedly until it becomes a soft, smooth ball. This will take about 10-15 minutes of kneading. Once the dough is ready, cover it with plastic wrap.
Shaping the dough
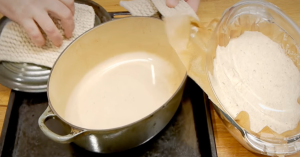
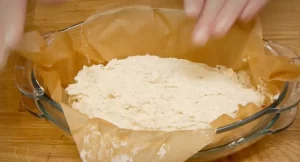
Once the dough is kneaded, it’s time to shape it. This can be done by hand or with a rolling pin. For a round loaf, start by pressing the dough into a circle or oval shape and then rolling it up from one end to the other until it forms a tight spiral. Transfer the dough to a parchment-lined Dutch oven (How to make your own) and cover with the lid. Let it sit for about 30 minutes before baking.
Baking the gluten-free bread
Once the dough has finished rising, it’s time to bake!
Preheat your oven to 375° F and place the Dutch oven with the lid on inside. Bake for 30 minutes or until golden brown. Let the bread cool before slicing.
Do not overmix (Personal Tip)
This is my personal tip which I experienced while making bread. Therefore, It’s important to note that gluten-free bread dough should not be overmixed. Gluten-free dough does not contain the same structure as wheat flour and it can quickly become dry and crumbly if overmixed. To ensure a nice, soft texture, only mix for the time specified in the recipe (10-15 minutes). After mixing, knead the dough.
Rapid-rise Yeast VS Active Dry Yeast
When making gluten-free bread, it’s important to use the correct type of yeast. Rapid-rise yeast is best as it works quickly and needs less kneading time than active dry yeast. Make sure to check the expiration date (Read my guide on how to read the labels) on your yeast before using it—old or expired yeast won’t work properly!
NOTE: Follow the instructions on your packet for the optimal amount of time and temperature for rising.
Possible substitutions
When making gluten-free bread, there are a few substitutions to make the recipe work better for those with dietary restrictions:
For example, flax or chia seeds can be used as egg replacers in recipes that call for eggs and dairy-free milk or coconut milk can replace regular cow’s milk. Besides these substitutions, I have noticed that some people prefer using nuts or seeds.
Gluten-Free Dutch Oven Bread – Nutrition Information
The Dutch oven bread is a great choice for those looking to make healthier eating choices or with dietary restrictions.
| Nutrient | Amount per Serving |
|---|---|
| Calories | 150 |
| Total Fat | 4g |
| – Saturated Fat | 0.5g |
| – Trans Fat | 0g |
| Cholesterol | 0mg |
| Sodium | 250mg |
| Total Carbohydrates | 26g |
| – Dietary Fiber | 2g |
| – Sugars | 1g |
| Protein | 3g |
| Vitamin D | 0mcg |
| Calcium | 40mg |
| Iron | 1mg |
| Potassium | 70mg |
Note: Please note that the values provided are for illustrative purposes and may vary depending on the specific recipe and ingredients used to make the Gluten-Free Dutch Oven Bread. It’s essential to calculate the nutrition information based on the precise ingredients and quantities used in your recipe or refer to specific product labels for accurate data.
Tips and Tricks for Successful Baking with Your Dutch Oven
Baking with a Dutch oven is an enjoyable and rewarding experience. Here are some tips to ensure success:
- use preheated ingredients for best results,
- allow the dough to rise in the warmest part of your kitchen,
- shape the dough as desired before adding it to the pot,
- and bake at consistent temperatures.
- using parchment paper will make for easy removal
Why This Recipe Works
This recipe works because the Dutch oven helps to create consistent, even heat while cooking. The lid traps steam, which gives your bread a light and airy texture on the inside while ensuring that it develops a nice crunchy crust on the outside.
Final Thoughts
Making gluten-free Dutch oven bread is an enjoyable and rewarding experience. Not only does it taste great, but its health benefits make it a smart choice for those with dietary restrictions. Plus, with the right tips and tricks, anyone can become a successful baker in no time! So why not try making your own gluten-free Dutch oven bread today? You won
Recipe FAQs:
What to Eat with Artisan Bread?
Finding the perfect pairings for your artisan bread is easy and fun. Here are some popular combinations to try: olive oil and balsamic vinegar, prosciutto and fig jam, cream cheese and smoked salmon, hummus with roasted vegetables, or pesto and tomatoes.
What Is the Difference Between Artisan Bread and Regular Bread?
The term ‘artisan’ is a French word meaning ‘of the craft’. It is used to distinguish handcrafted bread made with high-quality ingredients, such as organic flour and natural fermentation processes. Artisan breads are typically denser than regular store-bought breads and have a distinctive flavor. Artisan bread often takes longer to rise.
How Long Does Gluten-Free Dutch Oven Bread Last?
Gluten-free Dutch oven bread can last up to several days when stored properly in the fridge or freezer. To keep your bread fresh, make sure to wrap it tightly in plastic wrap before placing it in an airtight container. If kept cold and dry, your gluten-free Dutch oven bread can stay fresh for up to five days.
Can I Substitute Almond Flour for All-Purpose Flour in This Recipe?
Yes, you can substitute almond flour for all-purpose flour in this recipe. It is important to note that almond flour produces a denser texture than wheat-based flour, so it may change the consistency of the bread slightly.
What Else Can I Add to this Gluten-Free Dutch Oven Bread?
This gluten-free Dutch oven bread is already delicious on its own, but there are plenty of tasty additions you can make. Try adding some chopped nuts or seeds for added crunch and texture.
What type of gluten-free flour should I use?
When baking gluten-free bread in your Dutch oven, you will want to use a gluten-free flour blend that is specifically designed for baking. Look for a mix of flours such as rice, sorghum, millet, tapioca, and potato starch to create a light and fluffy loaf of bread. Avoid using all-purpose gluten-free flour.

