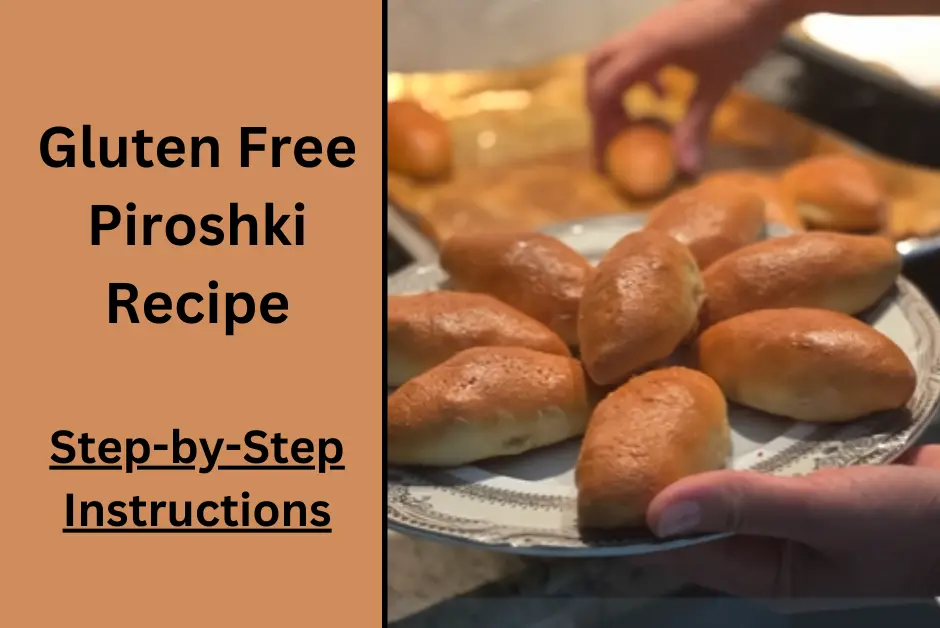
Gluten-Free Piroshki Recipe – A classic Russian treat!
I am someone who has a very close relationship with these juicy small, baked buns filled with savory ingredients like ground beef or potatoes and onions. As someone who has been making my own version of this classic Gluten-Free Piroshki Recipe treats for years, I can confidently attest to their amazing flavor and versatility.
A classic Russian treat that you can make in your own kitchen! They’ve been a popular snack food in Russia for centuries, but now they can be yours to enjoy without the worry of gluten. With just a few simple steps and ingredients, you’ll be able to create delicious homemade piroshki right at home – perfect for snacks, brunches, and special occasions alike!
Gluten-free piroshki
For those following a gluten-free diet like me, there’s no need to miss out on enjoying the delicious tastes of piroshki. With my homemade recipe, you can now enjoy these delicious buns or even can present them to guests visiting tonight. Let’s try this.
piroshki and a brief history of the dish
Piroshki, also known as pirozhki or pyrizhky, are a type of filled dumpling originating from Russia and Ukraine. Piroshki can be sweet or savory and filled with from mashed potatoes, cabbage, and mushrooms to apples, cherries, or sweetened cheese. Traditionally they are served as an appetizer, snack, or accompaniment to the main meal.
Gluten-Free Piroshki Recipe
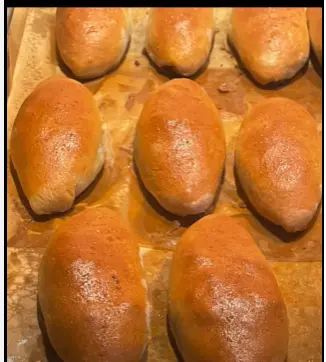
Gluten-Free Piroshki Recipe
Ingredients
- 4 cups gluten free all purpose flour
- 2 cups Baking powder
- 1 tbsp Salt
- 1/2 cup Butter or oil
- Water as required
- 2 cups and yeast
Instructions
- Begin by combining the flour, baking powder, salt, and butter or oil in the large mixing bowl and mix until they are completely combined.
- In a separate small bowl add warm water and yeast - stir together until the yeast is dissolved. Pour the yeast mixture into the large bowl with the other ingredients and mix until everything is fully combined.
- Once that is done, knead the dough for around 5 minutes or until it becomes smooth and pliable. Cover the dough with a damp cloth or plastic wrap and let it rise in a warm place for about 1 hour or until it doubles in size.
- Once your dough has risen, preheat your oven to 350°F (175°C). Divide your risen dough into 4-6 equal pieces then roll out each one on parchment paper using a rolling pin.
- Cut out shapes from each piece of rolled-out dough - circles, triangles, squares, or any other shape you prefer. Fill each piroshki with your favorite gluten-free filling.
- Once filled, seal the edges of each piroshki either by pinching them together with your fingers or using a fork
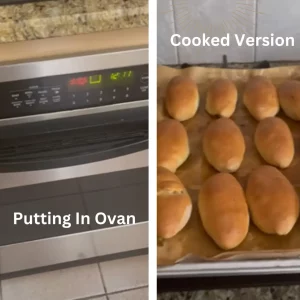
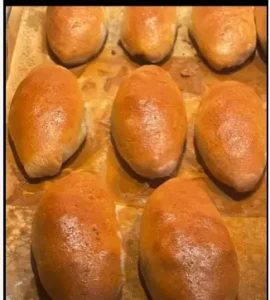
- Place the piroshki on a baking tray lined with parchment paper and bake in preheated oven for 20-25 minutes until golden brown.
Kitchen tools and supplies
The tools required are daily kitchen use tools and supplies to make gluten-free piroshki.
- A large mixing bowl
- Rolling pin
- Parchment
- Paper
- Cookie cutters in varying shapes and sizes
- and a baking sheet are all necessary for this recipe.
Once all of the necessary supplies have been gathered, you can start making your delicious gluten-free piroshki!
Step-by-Step Instructions for Making Gluten-Free Piroshki
Making gluten-free piroshki is quite easy and straightforward. Just follow the process as discussed in the recipe and then my personal techniques for Preparation, filling, frying, and, Cooking.
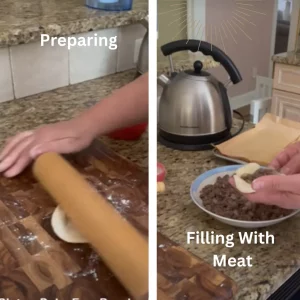
Preparation – Mixing, rolling, and shaping the dough
To prepare gluten-free piroshki, first mix together warm water, yeast, sugar, and salt in a bowl. Slowly add gluten-free flour (You can try Molino flour Gluten-free) and knead for 5 until the dough is smooth. Cover with a damp cloth and let it rest for 30 minutes before proceeding to the next step.
Roll out the dough on a floured surface and use a 3-inch cookie cutter or glass to cut circles from the dough. Re-roll dough scraps if necessary. Place a teaspoon of your desired filling in the middle of each circle and fold it into a half-moon shape, pressing the edges together to seal.
Set aside piroshki on a floured surface and let them rise for 30 minutes before deep-frying in vegetable oil until golden brown.
Once cooked, remove the piroshki from the oil and place it on a paper towel to absorb excess oil. Serve your gluten-free piroshki warm or cold with your favorite toppings like sour cream, jam or honey.
Filling – Choosing fillings, preparing the filling, stuffing the piroshki
When it comes to the fillings, the possibilities are nearly endless! You can choose sweet or savory fillings like minced cooked beef, mashed potatoes, and cheese, cottage cheese, jam, apple sauce, or even a combination of these ingredients.
When preparing the filling you can mix them with spices such as dill, parsley, or garlic for added flavor. After deciding on your desired filling, spoon some into each piroshki dough round and fold it into a half-moon shape. Press edges firmly together so that they are sealed shut. Once all your piroshki are filled and shaped properly, you’re ready to start cooking them!
Once cooked, remove the piroshki from the oil and place it on a paper towel to absorb excess oil. Serve your gluten-free piroshki warm or cold with your favorite toppings like sour cream, jam or honey.
Filling – Choosing fillings, preparing the filling, stuffing the piroshki
When it comes to the fillings, the possibilities are nearly endless! You can choose sweet or savory fillings like minced cooked beef, mashed potatoes, and cheese, cottage cheese, jam, apple sauce, or even a combination of these ingredients. When preparing the filling you can mix them with spices such as dill, parsley, or garlic for added flavor.
After deciding on your desired filling, spoon some into each piroshki dough round and fold it into a half-moon shape. Press edges firmly together so that they are sealed shut. Once all your piroshki are filled and shaped properly, you’re ready to start cooking them!
Frying
Frying is the preferred method for cooking piroshki. Heat up some vegetable oil in a shallow pan on medium heat and place your gluten-free piroshki inside. Fry them until they are golden brown, then carefully flip them over to cook the other side.
Once both sides are cooked, remove from the pan and place on paper towels to absorb excess grease. Now you’re ready to enjoy your delicious homemade gluten-free piroshki! Serve warm with a dollop of sour cream or your favorite condiment and bon appetite! Enjoy!
Cooking – Baking methods and time frames
For a slightly healthier option, you can bake your gluten-free piroshki instead of frying them. Preheat the oven to 350°F and lightly grease a baking sheet. Place the piroshki onto the baking sheet and put into the oven for about 20-25 minutes or until golden brown. Allow them to cool before serving with your favorite condiment or sour cream. Enjoy!
Baking is a great way to enjoy these delicious treats without all of the added fat from frying. It may take a bit longer than frying but it’s worth it in the end!
Serving Suggestions
To give your gluten-free piroshki a more flavorful touch, serve it with sour cream, Greek yogurt, or even some salsa. You can also dress them up with some herbs and spices like parsley, thyme, or oregano for an extra kick of flavor. Pairing the piroshki with a salad or other side dish makes for a great meal!
Storage Tips
If you don’t plan to eat all of the gluten-free piroshki in one sitting, store them in an airtight container in the fridge for up to 3 days. To freeze them, wrap each piroshki individually in plastic wrap and store them in the freezer for up to 1 month. Reheat frozen piroshki in a preheated 350°F until hot, about 15 minutes. You can also reheat them in a microwave for a few seconds.
How to eat Piroshki
There are many different ways you can enjoy piroshki. You can eat them as a snack or appetizer straight from the oven with some sour cream on the side. For a heartier meal, try serving them with a side of mashed potatoes or a light salad.
These are some of the ways I enjoy my homemade gluten-free piroshki while they are still warm! For added sweetness, I usually use sprinkle with powdered sugar or drizzle with honey.
Personalized Tips for Perfect Piroshki
As someone deeply familiar with the art of crafting the perfect gluten-free piroshki, I’d like to share some personalized tips to enhance your piroshki experience:
- Experiment with Fillings
- Add Flavorful Spices
- Play with Shapes
- Explore Baking Techniques
- Serve with Creative Accompaniments
By incorporating these personalized tips into your gluten-free piroshki recipe, you’ll take your culinary creations to the next level and delight your taste buds with every bite.
Conclusion
Making gluten-free piroshki is an easy and tasty way to enjoy a classic Russian treat. You don’t need many ingredients or fancy techniques – simply roll out the dough, fill it with your favorite savory ingredients, brush with egg wash, and bake until golden brown for deliciously warm, flaky treats. Enjoy these gluten-free piroshki and share them with friends and family for a special meal or snack that everyone can enjoy!
Related recipes:
- Gluten Free Pepperoni Rolls Recipe
- Gluten Free Kolache Recipe (Versatile Snack)
- Are Arepas Gluten Free? (Recipe Shared)

